
Sizing and ventilation
Passive attic ventilation
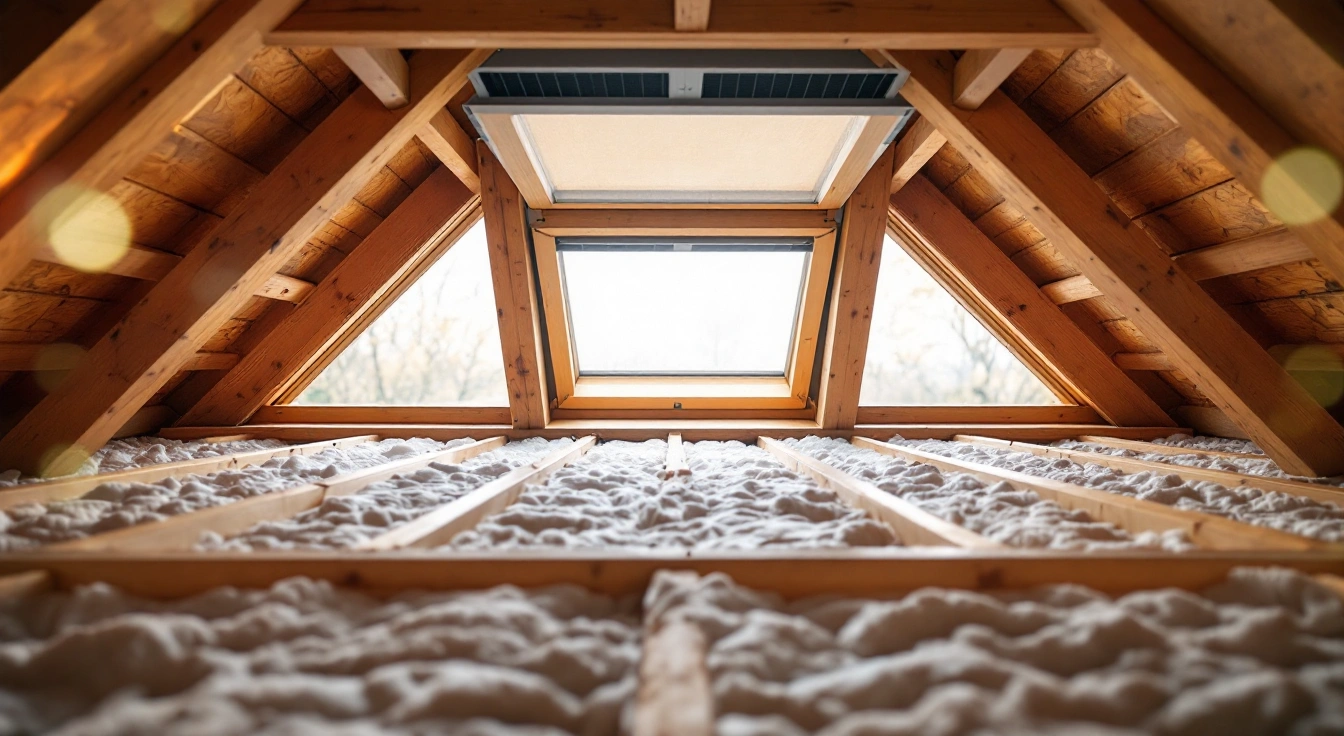
The short answer
Passive attic ventilation uses a designed outdoor air path without a powered exhaust motor. A vented roof has low intake and high outlets.
Last updated October 2026
What's covered16
- Passive attic ventilation: the intended route
- Low intake connects past insulation
- High outlets and roof shape
- Why distribution matters
- Passive attic ventilation and net free area
- Baseline and reduced ratios
- Ceiling air sealing is a separate boundary
- Insulation and the air channel
- What passive vents cannot fix
- Compare powered exhaust carefully
- Whole-house fan discharge is another question
- Maintenance without changing the design
- Handover checklist
- Review after an addition
- FAQ
- Verdict
Passive attic ventilation uses a designed outdoor air path without a powered exhaust motor. A vented roof has low intake and high outlets. Its shape and conditions affect the route.
Usable vent area and distribution both matter. Passive vents do not replace ceiling air sealing or insulation. A moisture source still needs repair too.
Identify the vented assembly before counting area. Map low intake and high exhaust for each connected space. Keep channels beyond the insulation clear. Use declared net free area for exact vents. Confirm the adopted rule before applying a reduced ratio. Diagnose wet materials separately. Adding a motor is a different pressure and intake decision, not an automatic upgrade.
Passive attic ventilation: the intended route
Outdoor air enters through the planned intake and leaves through the intended outlets. Low intake may be at a soffit or another designed location. High exhaust may be at a ridge or separate roof outlets. The path must serve the actual vented space.
PNNL's attic guide describes the assembly context. The roof air path works alongside insulation and ceiling air sealing. A passive system has no fan motor.
It still needs a design. A set of roof holes is not a vent plan. Record their roles.
Flow depends on conditions. The roof layout matters too. Declared net free area is an opening value.
It does not establish a fixed CFM flow. That declaration describes usable opening area. Keep it distinct from a measured running flow.
Low intake connects past insulation
A low opening must connect to the intended attic space. Soffit intake can be blocked by insulation at the eave. The exterior panel may look clear while the route inside is closed. Inspect the connection through safe access or a qualified contractor.
A fitted eave channel can protect the air path. Its shape and placement must match the framing and roof assembly. It should not compress insulation or create an unintended room-air leak. Use the exact mounting detail for the assembly rather than improvising from one photo.
Our soffit guide follows that route. If the roof has no suitable overhang, alternative intake planning is the next step. Absence of soffits does not mean any wall opening is an equivalent replacement.
High outlets and roof shape
A suitable ridge vent offers high exhaust along working ridge length. Static outlets provide separate roof openings. Their fit depends on the real roof and intended distribution. Neither type is a universal best choice for every shape.
Count effective installed length or working units, not merely roof length or visible caps. Blocked sections and isolated spaces need their own review. The exact vent instructions determine the weather detail. A roof outlet needs an air opening. It must keep its intended water protection too.
Our roof vent guide compares roles. The attic vent reference explains usable area. A family name or appearance alone may not identify the installed product version.
Why distribution matters
The total vent area can look sufficient while the route is poor. All outlets might be in one section. Another section may lack intake. A separate roof bay may not connect to the main attic. An area total does not reveal those gaps.
Nearby outlets can also create short routes. An opening that supplies another nearby outlet may bypass the intended eave path. Review gable and roof openings together. Each one may add nominal area. That alone does not prove it improves the system.
A useful drawing shows which spaces connect. It shows each opening's role too. Mark low intake and high exhaust separately.
Note any change in roof assembly at an addition. Tie the plan to the real building. A single whole-house area number is not enough.
Passive attic ventilation and net free area
Net free area is the usable air opening after restrictions. Screens and other parts reduce it from the outside dimensions. A perforated panel is not open over its whole surface. Use the declared value for the exact installed version.
Separate vents may state area per unit. Continuous vents may state area per linear foot. Those inputs differ. Keep the units beside them.
Use working counts or lengths. Check them against the installed result. Do not count blocked openings as clear area. A changed screen may also alter the old value.
Record the source alongside the figure. If the product cannot be identified, keep its usable area unknown. An inspector may need to establish the part. Guessing from a photograph can create a precise calculation with an unreliable input.
The vent-area calculator shows a named planning method. It accepts known product area to estimate a count or length. It does not recognize vents or inspect the route. The result is arithmetic, not roof approval.
Baseline and reduced ratios
The adopted rules control the ratio. Check which conditions apply too. A reduced ratio can require a set intake and exhaust split.
It may also depend on vapor control. Do not choose it just because the smaller result is easier to install. Check the actual edition and local changes.
Our requirements guide explains the linked model-code example. It identifies a baseline and a conditional exception. Keep the exception evidence on the project record. The calculator cannot verify a hidden vapor-control layer or local acceptance.
The HVI guide supplies industry planning context. Its advice is not a substitute for the authority controlling the project. A useful plan names which method it used and why it applies.
Ceiling air sealing is a separate boundary
Ceiling air sealing limits unwanted air movement from rooms into the attic. Roof intake intentionally admits outdoor air. These are different openings with different roles. Do not just seal every gap. Name each opening's role first.
Insulation reduces heat flow. It does not prove an airtight ceiling. The attic hatch and service penetrations need their own assessment. Electrical and combustion clearances must be respected. Use qualified work where equipment or safety details are involved.
Moist room air leaking into a cold roof can be a source of moisture. Passive vents do not remove that source from the ceiling. Indoor moisture control may be needed too. Diagnose the route before treating a larger vent count as the repair.
Insulation and the air channel
The vented assembly needs its intended channel. Keep the insulation design intact too. Eave details can be tight, which makes correct fitting important. A channel that ends behind a blockage is incomplete. A channel in the wrong assembly is not automatically useful.
Do not push insulation aside around live wiring to see the path. Do not step on ceiling material to reach the eave. Ask for a qualified inspection when access is unsafe. Keep the exact roof detail as evidence. Ask the contractor for photos where safe access permits them.
Insulation may be at the roof deck. Check whether the roof is vented there or uses an unvented design. The attic-floor ratio is not a default rule for every roof-insulation arrangement. That question must be settled before openings are added.
What passive vents cannot fix
A roof leak needs a water-detail repair. More vents cannot mend that defect. A duct exhausting moist air into the attic needs its intended termination corrected. Indoor moisture crossing the ceiling needs source and boundary work. These causes do not become vent defects solely because the attic is damp.
The problems guide separates symptoms and repair routes. Record when the wetness appears and where it occurs. Timing after rain differs from a pattern linked to cold weather. Either still needs diagnosis. A stain is evidence of a symptom, not a complete cause.
Passive ventilation does not remove mold. It cannot promise that damaged materials will recover. The condition of those materials needs proper assessment. Stop active water entry and identify the source. Do not conceal the problem beneath a new vent invoice.
Compare powered exhaust carefully
A powered fan changes the pressure question. It removes attic air mechanically and needs replacement air. Poor outdoor intake can change the supply route. Ceiling leaks can let the fan draw treated room air. PNNL's attic-fan guidance describes that concern.
A passive vent-area ratio is not a particular fan's intake requirement. Use the exact fan instructions for that check. Also consider how existing high outlets interact with the fan. Adding the motor can change the direction through some openings.
Do not call powered exhaust an automatic upgrade from passive ventilation. The building task and installed system determine suitability. A cooler attic does not prove lower household energy use. A quiet motor does not prove correct intake.
The attic fan operation guide explains the mechanical route. Use the installation guide for the planning sequence. First check whether the assembly or leaks need review. Equipment selection may come later.
Whole-house fan discharge is another question
A whole-house fan deliberately exchanges room air with outdoor air. Many conventional systems discharge through a vented attic. That use needs a room-air intake and an outlet check. It is different from passive roof ventilation alone.
Our whole-house airflow calculator uses named sizing methods for the room-air task. It shows the conventional outlet context separately. It does not approve an unvented roof or combustion safety. Do not apply its CFM estimate to a powered attic fan by substitution.
A room-cooling fan may be added. If so, review the roof outlet route for that fan. An existing passive vent count is useful data but not the entire approval. The whole-house installation guide lists those building checks.
Maintenance without changing the design
Use safe ground observations to note damaged exterior parts. Paint or debris can block small openings. Screens may need repair. Do not remove guards or mesh as an airflow experiment. Replacement parts should preserve the specified role and usable area.
Hidden channels may need a contractor inspection after insulation or roof work. A system that once had a clear path can change during other projects. Keep the vent plan with the house records. Show each contractor what must stay open. Avoid treating the vent details as leftover gaps.
Record any change in product version or working length. A new ridge system may have a different declared area. A new soffit finish may cover old openings. Recalculate from the installed result rather than continuing to use the old vent count.
Handover checklist
| Record | Required detail |
|---|---|
| Assembly | Where the vented boundary and insulation lie |
| Spaces | Which sections share the air path |
| Intake | Exact usable area and clear channel |
| Exhaust | Exact usable area and location |
| Method | Adopted edition and any exception basis |
| Water detail | Product instructions and roof compatibility |
| Other repairs | Air sealing, duct or leak work kept distinct |
Scroll for more →
Return to the attic ventilation guide if the job involves more than one of these questions. The record should distinguish completed work from unresolved observations. A summed area is useful only when the openings and roles behind it are known.
Review after an addition
A new roof section can change the spaces served by old vents. It may share the main path or have a separate design. Keep that boundary on the drawing. Do not assign the old intake total to the addition until the connection is established.
The same applies when attic space is enclosed for another use. The roof boundary may change. A previous vent-area worksheet cannot approve the new assembly. Ask the project design to state the new route and preserve the relevant records.
FAQ
Does passive ventilation deliver a fixed airflow?
No fixed operating CFM is inferred here from net free area. Actual flow depends on conditions and the roof arrangement. Usable vent area is an opening measurement, not a motor performance rating. Keep those quantities separate when comparing a passive roof with a powered exhaust proposal.
Is a ridge vent enough on its own?
A high outlet needs the intended replacement-air route. Low intake and clear channels are part of the plan. Working ridge length and connected spaces also matter. A visible ridge product alone does not prove sufficient area or distribution. Review both sides of the vented assembly together.
Can passive vents fix wet insulation?
Not without diagnosing the cause. Roof water entry or moist room-air leakage may need separate repairs. An exhaust duct with the wrong termination is another distinct issue. Record the symptom and obtain a source assessment. Do not treat more vent area as a universal drying or mold remedy.
Should I add a fan if the attic is hot?
A hot reading does not establish the cause of discomfort or the benefit of powered exhaust. Check the assembly and existing path first. Ceiling leakage and insulation may matter more. A fan also needs exact intake and pressure checks. No universal energy saving is claimed from adding one.
Verdict
Build passive attic ventilation around a documented low-to-high route. Count exact usable area and preserve the insulation channel. Confirm the adopted method and diagnose moisture separately. A motor-free roof system still needs a complete design and a reliable handover record.