3 Component Choices for Attic Ventilation Installation in 2026
The short answer
Map intake and exhaust before choosing baffles. Compare clear bay fit and channel shape. These components preserve an air path; they do not create missing vents.
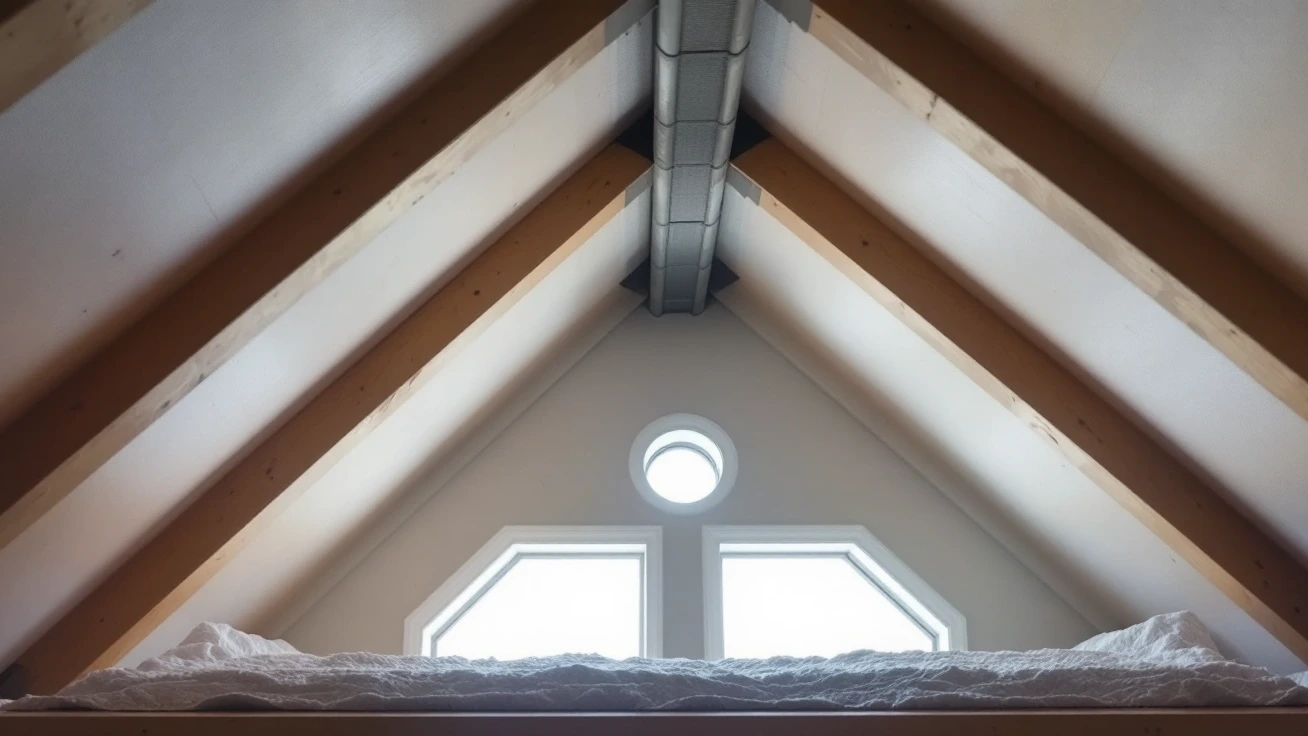
Attic ventilation installation begins with the roof assembly and a clear intake-to-outlet route. These three baffle choices address the low intake path above insulation. They are components, not complete ventilation systems. Select them only after the soffit inlet, bay dimensions and required outlet have been established. No universal installation design is implied.
Keep in mind: Confirm dimensions, installation scope and suitability with current manufacturer documentation before purchase.
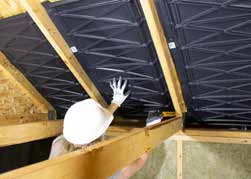
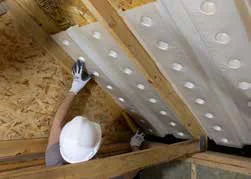
The Durovent foam channel is an installation component near the eave. Select it after the intended inlet and clear bay are known. It can preserve a path above insulation, but the project still needs a suitable outdoor inlet and exhaust arrangement.
Include ceiling sealing and any eave dam as separate scope items. A package of channels is not a complete ventilation system. Keep the maker's fitting method beside the roof layout so later insulation work can preserve the same route.
Keep in mind: Confirm dimensions, installation scope and suitability with current manufacturer documentation before purchase.
The ProVent plastic channel offers another way to maintain the intended eave passage. Compare its dimensions and profile with the actual opening. Do not choose it solely because the pack count appears to match the number of roof bays.
Identify where each selected bay connects outdoors. The installation record should show that connection before insulation hides it. A neatly fitted channel can still terminate at a blocked soffit. Keep that path check separate from confirmation that the component itself fits.
Keep in mind: Confirm dimensions, installation scope and suitability with current manufacturer documentation before purchase.
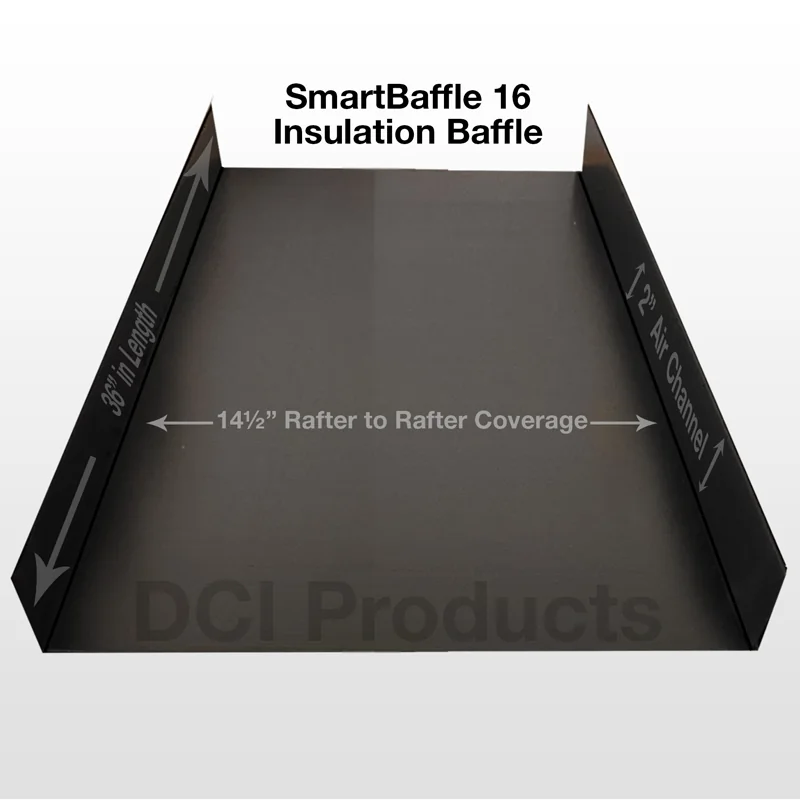
SmartBaffle 16 belongs in the comparison where its formed detail fits the planned bay. Check the current drawing and required fastening. The selected part should address an identified obstruction risk, rather than become an assumed replacement for the roof design.
Record the insulation depth and the intended channel termination. Keep air sealing and safe access in the work sequence. Once work is complete, retain photos of the route while it is visible. Those records help later roof work avoid blocking the original inlet.
Factors to consider before attic ventilation installation
First, find out whether the attic is vented. Locate the air boundary and the insulation. In a vented attic, outdoor air enters and leaves above the rooms' ceiling. An unvented roof has a different design.
A soffit baffle is not a reason to change that roof design.
Draw the low inlets and higher outlets on a roof sketch. Mark solid soffits and blocked screens. Note where walls or framing divide the attic. A total vent count hides these details. Intake must reach the space served by the outlet.
The route should not depend on drawing air through the rooms below.
Select the channel after the layout
The three parts above keep a route clear near the eave. Check how each one fits the bay and forms a channel. Measure the clear gap between rafters. Do not use the spacing from center to center as that gap. Keep the maker's fitting guide with the part.
A channel pressed flat by insulation cannot do its intended job.
The ventilation calculator helps record known vent free area. It cannot rate an unknown grille or approve a roof design. Mark that area as unknown until you can identify the vent. Its outer face is not all open space.
Attic ventilation installation: work sequence and checks
Start with safe access and a check of the roof space. Do not walk on the ceiling lining. Leave suspect wires and materials alone. Find the cause of a water stain before new work hides it. A roof leak needs a different repair from damp room air leaking through the ceiling.
Plan ceiling air sealing before adding or moving insulation. The PNNL attic guide explains how the air boundary and vents work together. A new roof outlet does not seal gaps around ceiling pipes or lights. List the leaks and blocked paths that the work will fix.
Fit the channel as its own guide shows. Check the route to the inlet and the open end above the insulation. Keep any required eave dam or wind barrier in the plan. An open top end is not enough. The soffit behind the lower end must be clear too.
Before the work ends, check for crushed parts and insulation in the air path. Record each vent, its stated free area and where it was fitted. Take photos while the path is still in view. Keep them with the roof sketch. A receipt that only says vents were added will not show that route later.
Where powered exhaust changes the decision
Adding a motor changes attic pressure. It can pull room air through a leaky ceiling if outdoor intake is too small or blocked. PNNL's attic fan guide explains this risk. A powered outlet does not fix every passive vent layout. Keep existing routes open unless the full plan calls for a change.
If the plan calls for powered exhaust, compare attic fan choices. Use the intake needs for that exact fan. A passive vent sheet does not replace the fan's own fitting guide. Keep both records. They answer different questions about the same attic.
How We Picked
We checked the US catalog records for Durovent, ProVent and SmartBaffle on October 16, 2026. These parts keep intake clear above insulation at the eave. None is a complete roof vent system. We compare bay fit and channel shape; pack size does not show how well a roof will vent.
We have not fitted them or measured their airflow. This comparison does not establish local code compliance.
Verdict: settle the attic ventilation installation scope first
For attic ventilation installation, choose a baffle once the inlet, bay and channel are known. Check the outlet and ceiling air boundary too. The part should keep a real route clear. Use our attic ventilation overview to connect that small task to the full roof plan.
FAQ
Can I install ventilation by adding baffles alone?
Baffles preserve an existing or planned air route at the eave. They do not supply a missing outdoor inlet or a high outlet. Confirm that both ends of the route work before treating new channels as a completed ventilation project. The roof assembly and ceiling air boundary must also fit the design.
Should insulation cover the soffit opening?
The intended intake path must remain clear. Use the selected eave detail to keep insulation in its proper place while preserving the channel. Do not remove insulation at random or push it into a solid soffit. Confirm the vent location, required channel and insulation depth together before making that change.
Does a new roof vent solve attic moisture?
It may not address the source. Roof leaks, indoor air leakage, wet materials and misplaced exhaust ducts need separate investigation. Adding a vent cannot establish which problem exists. Record the observed source and repair scope, then check whether the assessed roof assembly also needs a change to its ventilation routes.
What should I keep after the work?
Retain product names, instructions, vent free-area records and a layout showing inlet and outlet locations. Include photos of channels and ceiling sealing before they are hidden. Record any unknown area or unresolved obstruction. That information helps later roof or insulation work preserve the intended route instead of blocking it by accident.